Tuesday, July 31, 2012

Gate

Photobucket
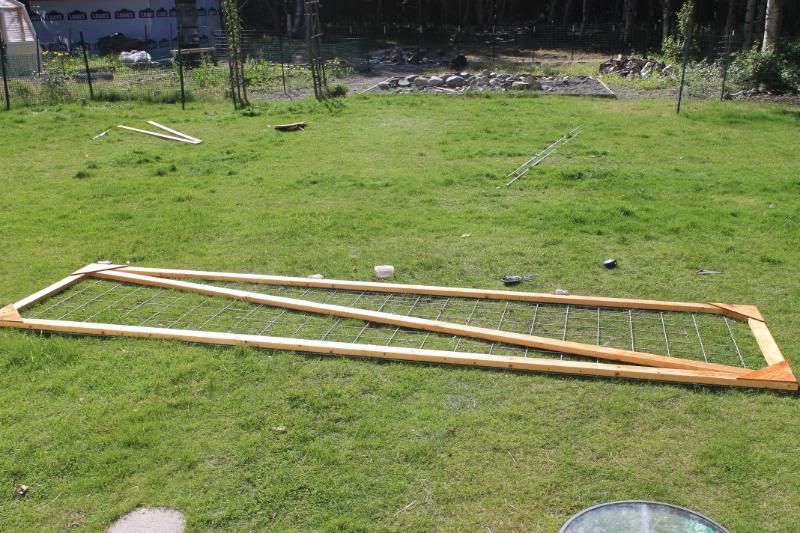
"So we are going to miter these, screw it together and then attach the cattle panel. Then we are going to (this is where I lose him for a really long time because I total do not understand how he intends to build the gate so that it rolls back and forth) and so does that make sense now?" Um nope.
Photobucket
I went ahead and helped anyway because that is the mature thing to do, and quite honestly I do not mind when I am confused and do not understand. I know that he can see it in his head and it comes out great and then I understand. Nathalie spent part of her evening talking daddy's ear off while he applied poly. We learned our lesson in Ks, do not wait to poly later. You will get busy, forget, and the wood will not stay nice as long. Everything we do here is poly-d and it looks so good and will hold up longer.
Photobucket
Frank and Tad attached the cattle panel to the gate frame. We had the piece of cattle panel on hand or would have used roll fencing, panel prices being what they are.
Photobucket
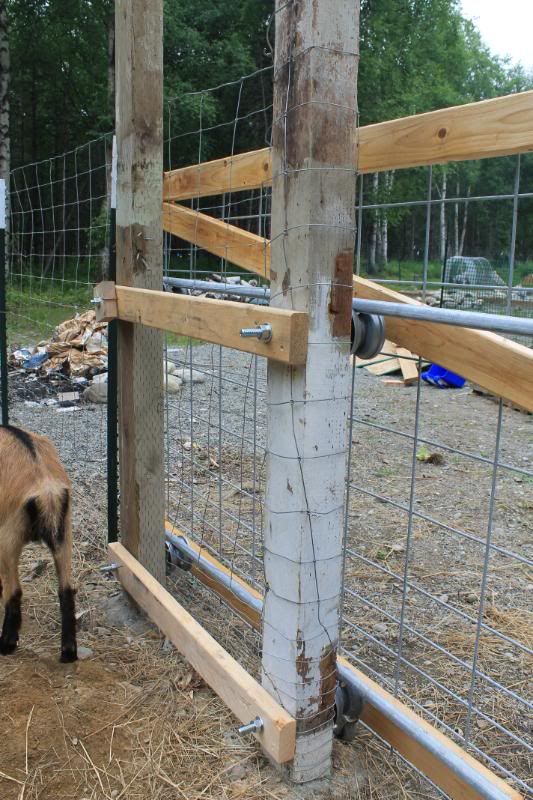
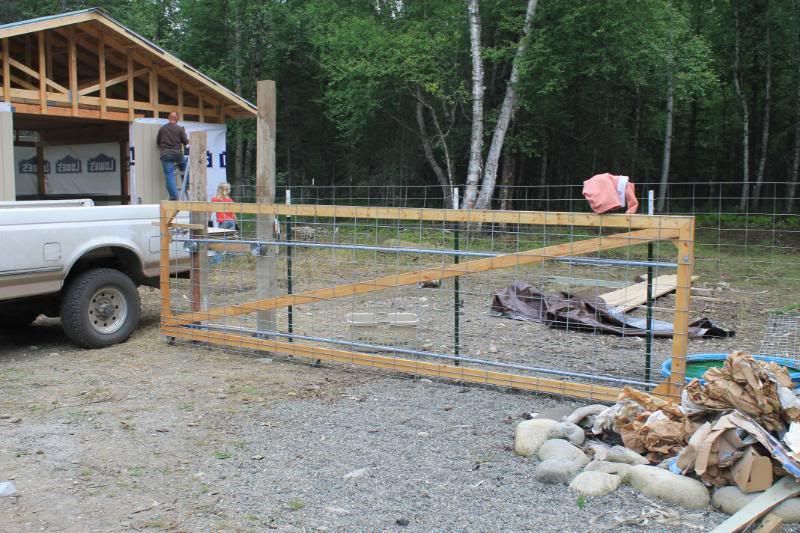
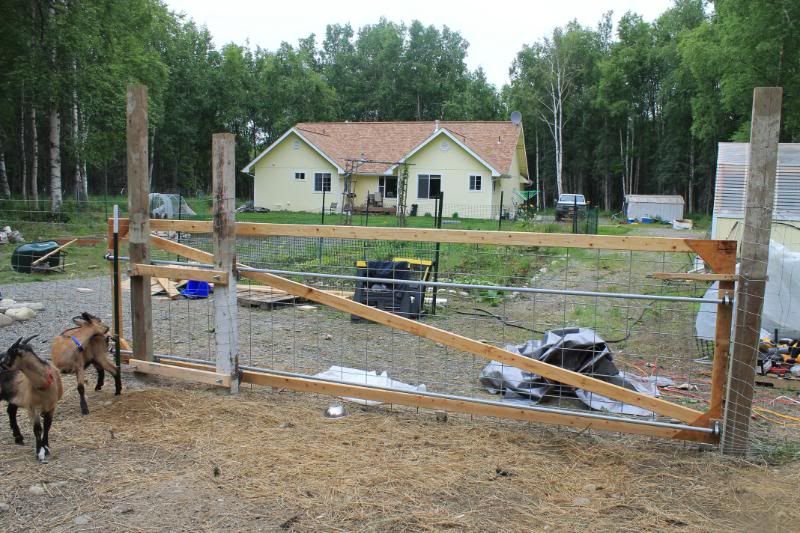
Being not mature at this point, or being gone from home with the kids... I did not help put it up. He put the hardware on it that he had purchased for this, including the rims pulled from the insides of some small tires. It is an amazing gate! I would never have come up with this on my own. I have seen sliding gates and I liked them, but Frank actually paid attention to their construction and was able to do this in a short period of time.
Photobucket
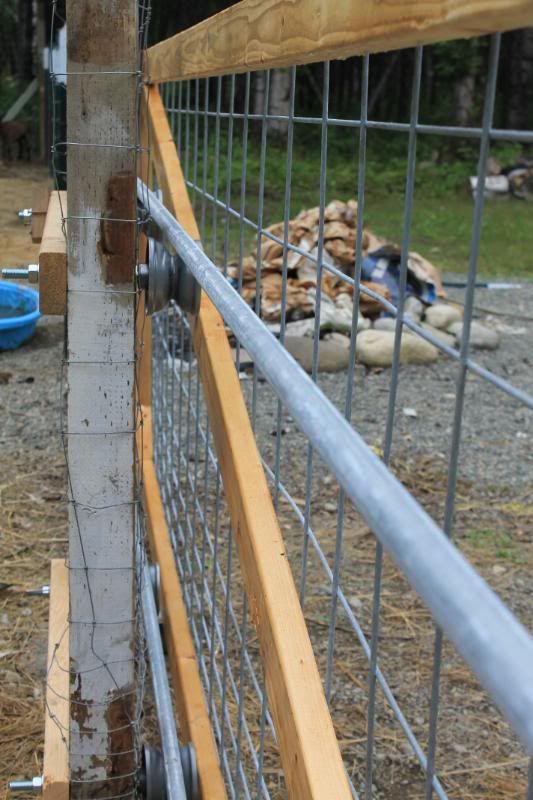
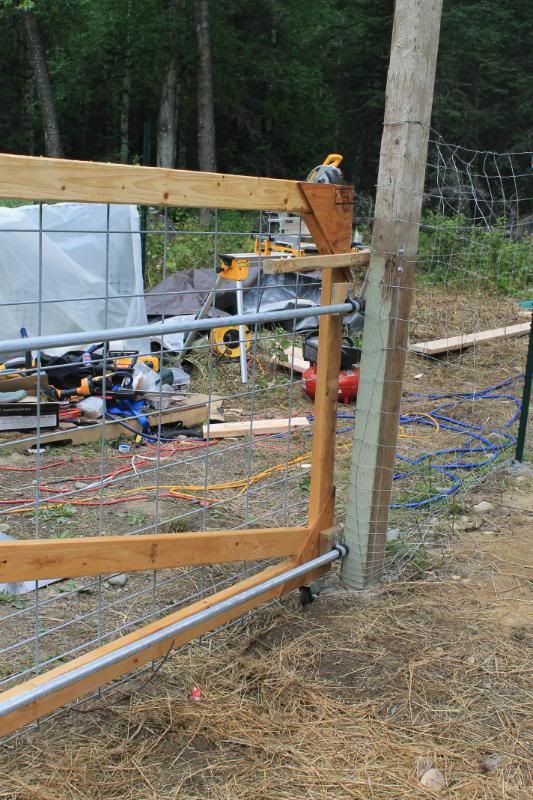
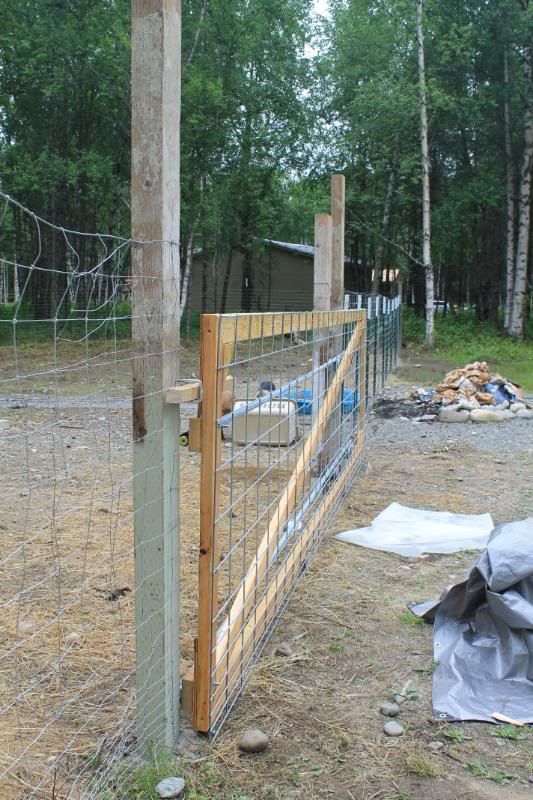
I think we need to scrape out the ground a bit more. There are 4 wheels on the gate bottom, and it has a piece of 2x2 on the inside of the gate that goes into a U-bolt when you slide it closed. When you open it, the long metal bars slide inside of the rims.
Photobucket
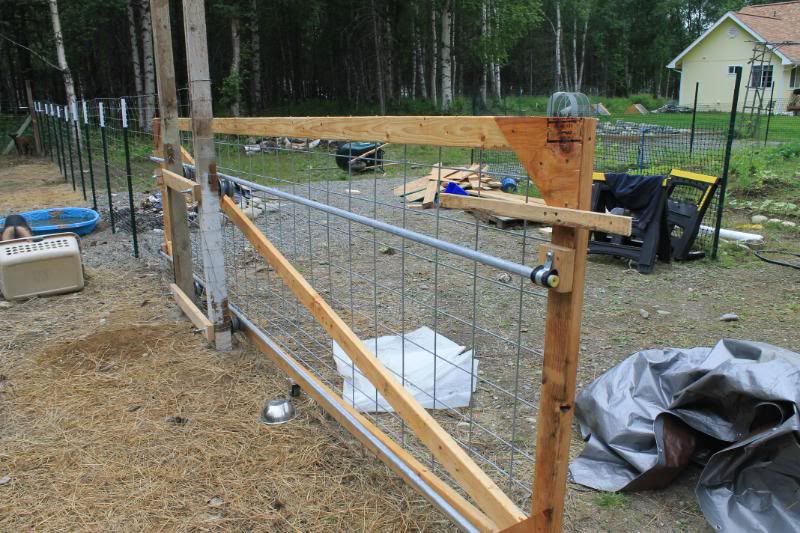
View of the latch and the bars. I do not know what these bars are meant for, but they were effective for this purpose.I am really pleased with the function of the gate. I do not mind gates that swing open, but this is so easy to open just a little, or completely for the truck to go in/out and you do not have to clear anything out of the way. We do not have the space here that we had in Ks.
Photobucket
The rims and more hardware, I understand the gate now but even with pictures and description he could not help me to see this until it was completed.
Photobucket
Another hardware view. We could have painted the gate, but I like light stained wood. I think it looks nice and will hold up well.
Photobucket
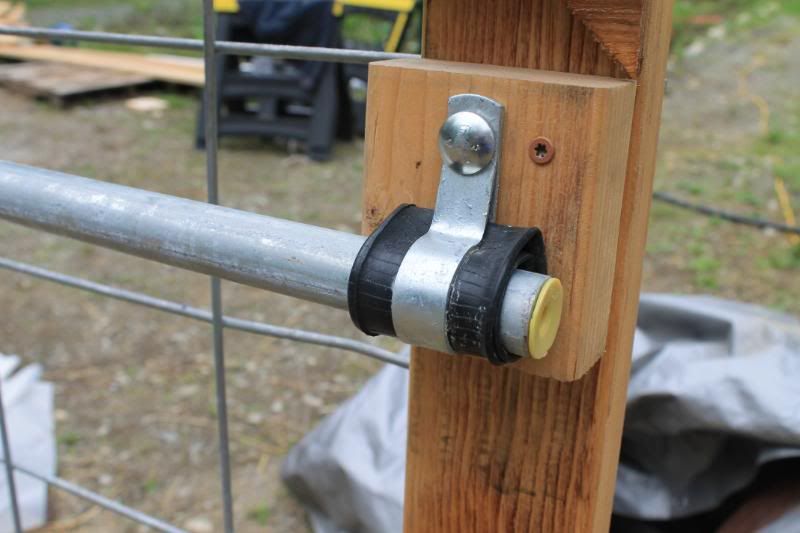
He needed a spacer here so he used the old inner tube from a bicycle of Nathalie's The bike is broken and old, she uses a new one now but the old one is around for parts. Not an expected use but works well and looks good!
Photobucket
The only drawback that I can see to it right now will be snow, and it wont matter if we have a sliding gate or a hinged gate. We will be clearing as the winter goes anyway as it was very frustrating to live here last year at the end of winter, not knowing what was under the snow. We could not clear it with a snow plow or blower because the owners told us that there was "a lot of stuff" under the snow and they were right! In Ks,the snow melted between snows. Here,it stays cold enough that it does not melt from first fall to late spring/early summer.
Photobucket
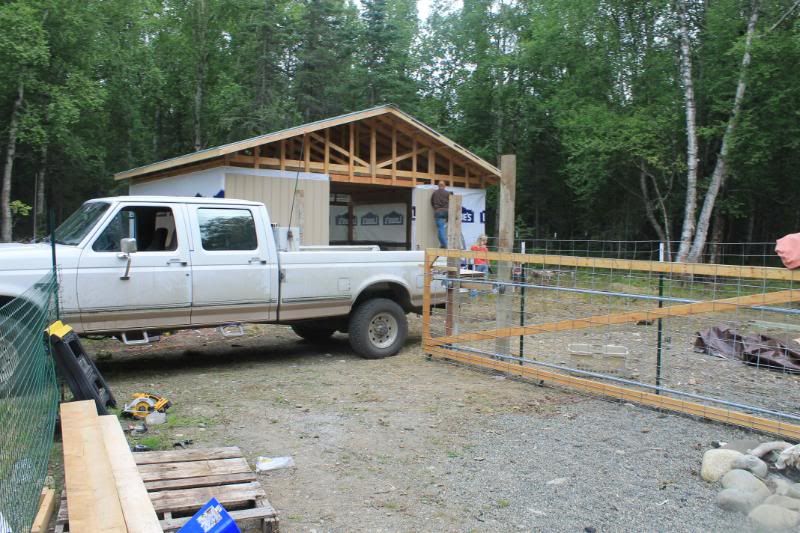
I think this is a really nice looking gate. It looks very professional and works so easily. Both kids can use it one handed and keep the goats inside, that was often a problem with large gates in the past. The kids preferred to climb them. Goats LOVE to get out of their space.When we go in and out a lot, we stake them out to eat somewhere else.
Photobucket
The gate is 16 foot long and the opening is 12 ft. The truck fits easily into the gate, he backs down through the garden. The first owners put rocks from the drive all the way to past the greenhouse which is perfect for where the barn is.

No comments: