
We found that the best place to buy meat locally is Three Bears, I finally know how Alaskans can survive on something more than rice and beans, if they do not hunt and fish. We fully intend to do both, we want fish for animal food and our food, and moose/caribou for the same reason. In the meantime, we needed a cheaper place! I was able to get chicken and pork for 2$ or less a lb, and beef for 3-4$ a lb.
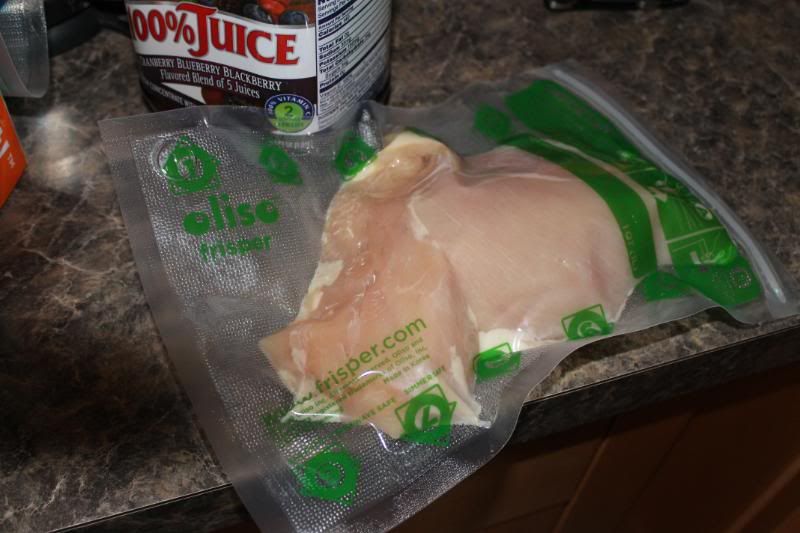
Here we are splitting it up and dividing it by meal size. Frank shrunk them and put them in the freezer, and I cut up 4 chickens into parts for different meals. The kids offered moral support.
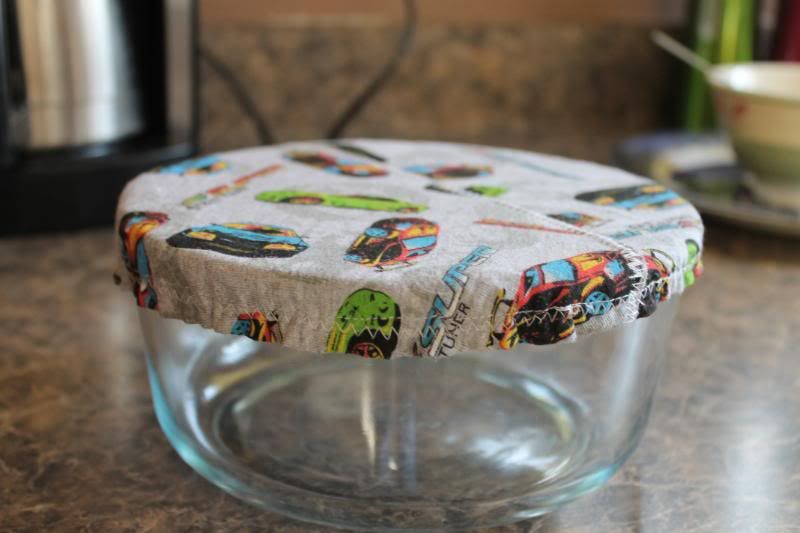
Today I found we really needed a new wet-bag, you all know that we use cloth where most people use throw away items, such as our un-paper towels. I use a lot of wet-bags for these until wash day. Sometimes we need clothes even in the garage, so we hang a wet bag over the sink and have a pile of clean cloths. When I finished the new wet-bag, I used the 2 oval scraps leftover from the edge (I think I cut a diaper from it previously) to make a circle.
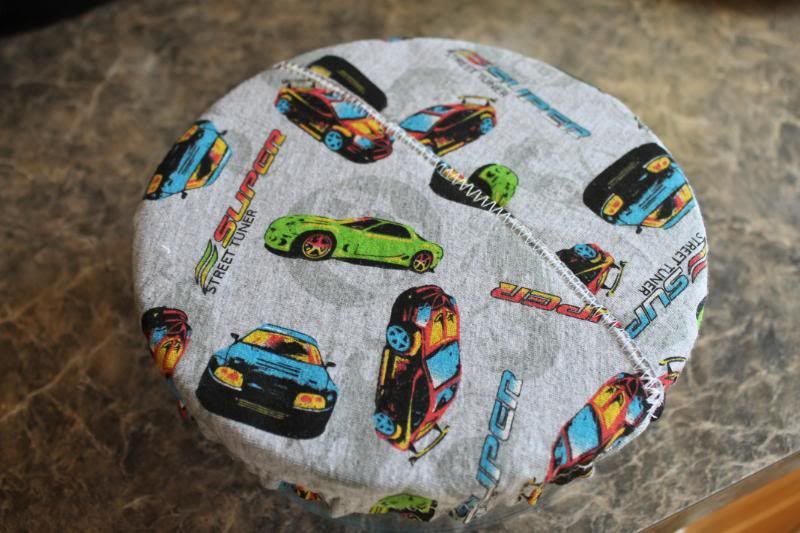
See? I have a seam on the top. I wouldnt sell one like this, but may as well make use of it ourselves. I think I prefer the ones without fold-over elastic, I just hem the edge and then sew clear elastic to the underside of the hem, stretching it as I go. I need more stretch next time, this was professionally laminated fabric but its thicker than the stuff I buy on bolts.
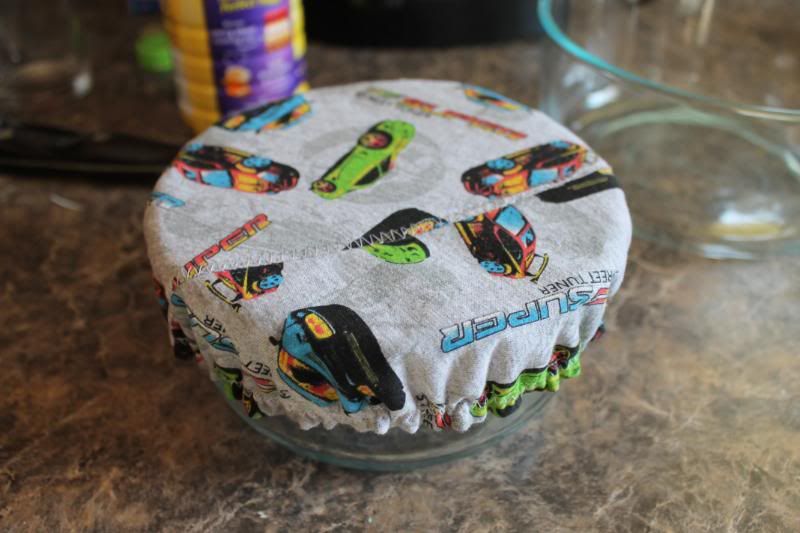
It fits 2 sizes, the first one is what it was made for, but it works for this smaller one too.
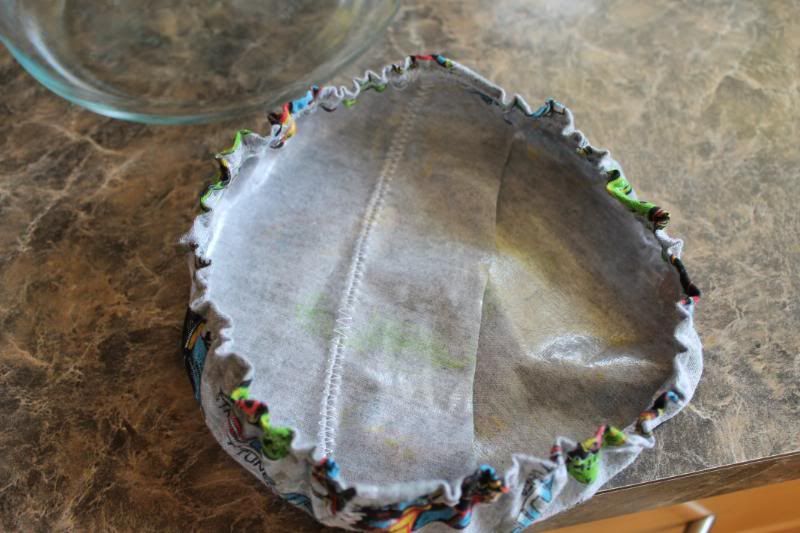
I left the extra piece, thinking maybe the extra along the seam will help to seal in freshness. I could zig-zag it down but no one will see it so I just ignored it.
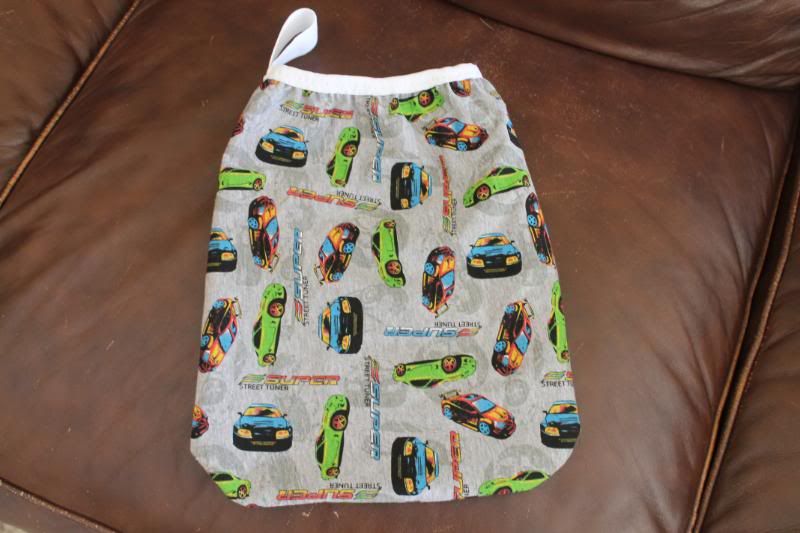
This was the little wet-bag. I had purchased a large quantity of small yardage, 1-3 yds, from another work at home mama once and this piece was cotton that she had laminated. Diapers and pullups need a thin, stretchy polyester fabric for laminating because cotton will leak a bit around seams and edges. It is good for wet-bags, sandwich baggies, any purpose that wont be drippy wet. I used it for some trainers when a mama wanted the child to NOT wet so would be changing right away if he did. It makes a cute bag!
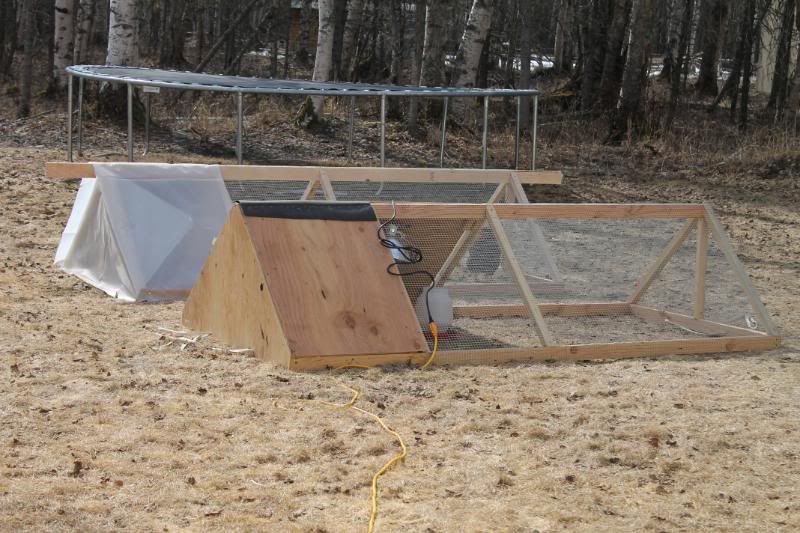
Last and unrelated, we moved the chickens out of the garage. They were in there 2 nights because, well it was dropping into the 20s and we had only 1 heat lamp, it was just easier. Next winter, they will live in an insulated barn with a heat lamp. We always provide a heat lamp in anything 25 or below both to keep water thaw without a heated bucket (this costs more to run than the lamp) and to provide small or young animals with enough warmth. Yesterday we moved them out because a garage is not for chickens, they need more ventilation being meat eaters, their potty smells much worse and is not good for them to breath. The garage does not have a window to open. As soon as Frank moved them out, it began to snow! He put the plastic on the 2nd coop which was the plan to avoid a heavier coop. It works nicely.
Now we will build a 3rd coop, specifically for layers and this time will have the human door/plastic cover, and then on the back side we will attach a lightweight nesting box that will have 3 small boxes in for the hens to lay in. The top will open up. This gives them maximum space in the coop, with plenty of sunshine using plastic vs plyboard. This can be replaced easily, gives more light and makes it less weight. We will also continue using the 10 ft ridgeline because that it is easy to carry.
Just in case anyone wants to build one, this is the instructions. It actually took some mathematics to come up with the angles:
Ingredients:
3 2x3s 8 ft long
1 2x3 10 ft long or rip a 10 ft 2x4
5 2x2s 8 ft long-we rip these
1 piece of plyboard cut at 31.5" long, 22.5" wide-this is your "human door."
1/2x1/2 19 gauge wire
Now whatever you want for a house-wood, plastic etc.
Cut 1 of the 2x3s in half, miter the 8 ft and your 4 ft 2x3s and screw them together in a 4x8 ft frame. Find and mark the center of each 4 ft long side. Cut 2 pieces of 2x2 at 19.5 inches, center these on the 4 ft side, sticking up. Screw in. Make sure you drill pilot holes on the entire project to avoid splitting your wood.
Now attach your 10 ft 2x3 ridgeline atop the 19.5" pieces. Make sure to extend the 2x3 exactly 12" on each side. If you allow your 19.5" piece to lean out/in it will turn out badly.
Cut 8 pieces of 2x2 32" long. The reason for this-because a 2x3 is 8 ft long, thus 3 equal pieces 32". Saves on 2x3s but makes a pretty short coop. You can make these taller, but then your 19.5 changes.
Miter your 32s at 45, screw into the base of the frame, and the ridgeline at each end, at the center and the last set 2 ft from the end. This gives you an extra place to secure a house, plastic and your human door.
Attach wire using staples. Leave open space for a nesting box if you want one, or build one into the coop reducing the need for wire at that end.
Using 2 hinges, attach your human door-hinges on the end, hasp on your 32" mitered piece at the 2ft mark from the end. You may need to use some small pieces of 1x2 for your plyboard human door, on the underside or your hinges do not have anything to screw into.
Thats it, you have a coop! Probably no one who reads this will need to build one, but if you did and wanted the same size, you now have the measurements. It is easier to make the 2nd, and 3rd because of our first time measurements.

No comments:
Post a Comment